So craft is not really my thing but my son wanted an army helmet to play with, so we had a bash.
He actually wanted to paint his bike helmet but after I explained why that wasn’t such a great idea, we decided to go the papier-mâché route.
It was actually a fun thing to do together in the school holidays as well as a cheap activity, although being papier-mâché, it did mean we had to wait while it dried which is always annoying for a child.
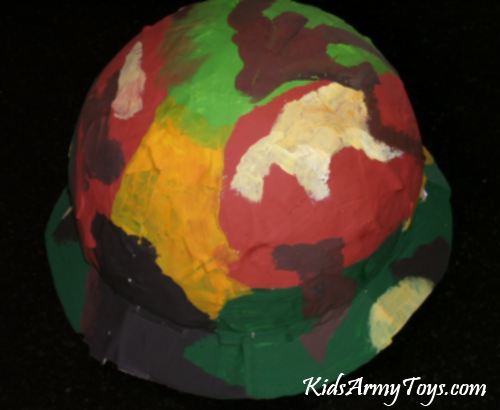
And here is the end result – not too bad I think! He’s pleased with it anyway and it would go perfectly with many kids army costumes.
Things you will need:
- A tape measure
- A round balloon
- Newspaper
- A tub of multipurpose white glue (or flour and water)
- Cardboard
- Scotch tape
- Acrylic paints and paint brushes
Steps:
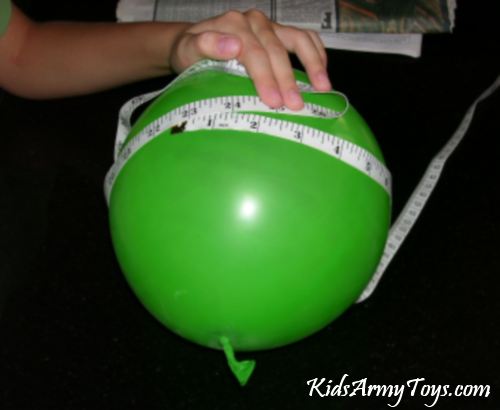
Measure your child’s head around their forehead.
Blow up a balloon until it is slightly larger than the measurement you just took (say by an inch).
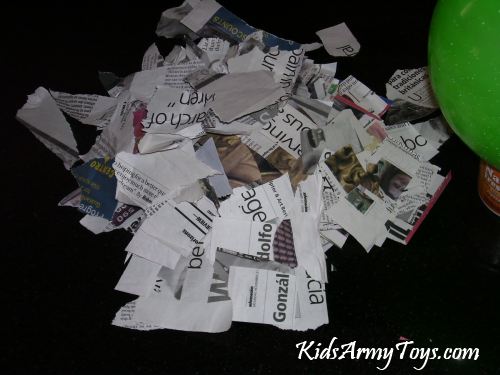
Tear up some sheets of newspaper into pieces about 1″ x 2″.
Prepare your glue. Either mix the multipurpose glue with water 3:1 or mix flour and water 2:1.
Find an old tub to prop the balloon up in (I used an empty sour cream tub). It won’t balance perfectly so you will need to keep a hand on it.
Dunk your pieces of newspaper into the glue and start layering them over the balloon.
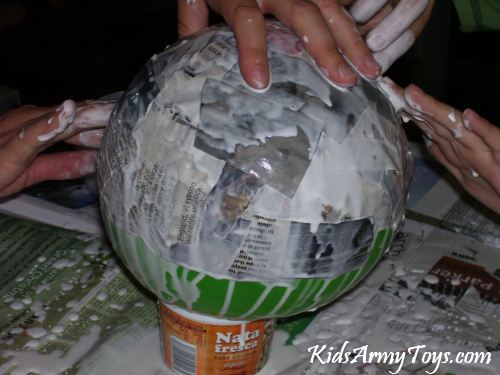
Keep going until you have a good few layers of newspaper covering the top two thirds of the balloon.
Leave it to dry overnight or for 48 hours.
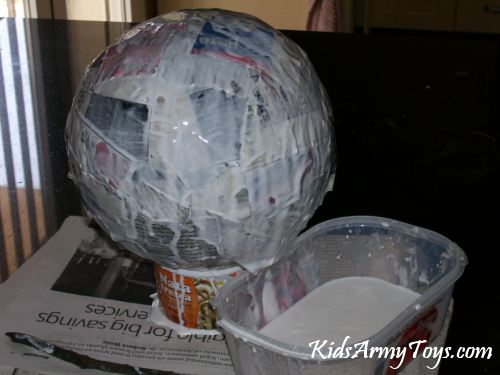
When the papier-mâché is dry and hard, pop the balloon and peel it away from the inside of the helmet.
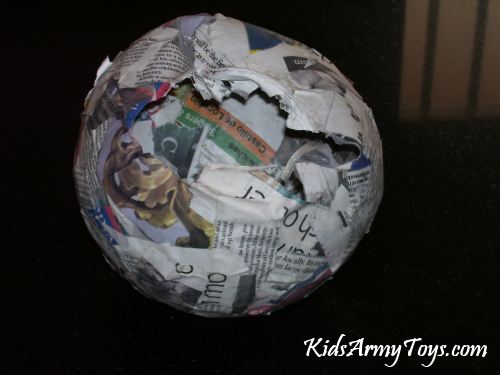
Measure your child’s head from the top of the skull to the top of their ear. Place the tape measure at the top of the helmet and mark about 10 points around that are the same distance as you just measured.
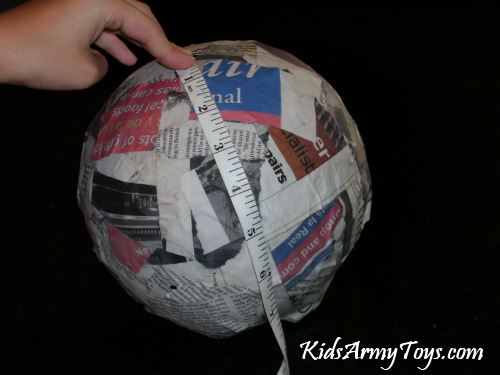
Using a marker pen, join up the 10 points and then cut the excess papier-mâché away.
Trace round the helmet onto a piece of cardboard to create the rim of the helmet. Draw an extra circle about 1 inch out from the tracing you just made and another one 1 inch in.
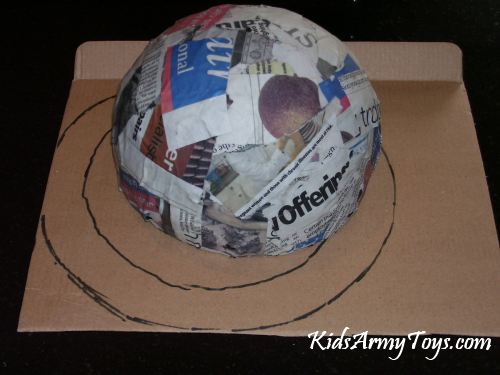
Cut around the outer and inner circles.
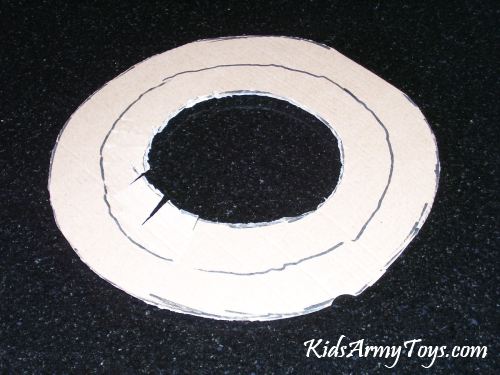
Make short cuts from the inside of the circle to the middle line. Fold the cardboard up along the middle line.
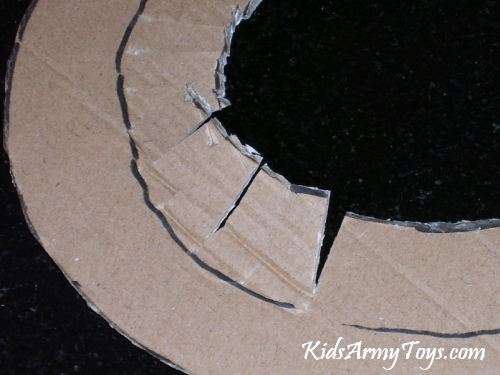
Cut out 6 very thin triangles from the outside to the middle line (make sure the points do not match up with the cuts from the inside). Also make sure they are evenly spaced around the helmet. (Note: mine were too big so I had to cover them with paper – oops!)
Using Scotch tape stick the edges of the 6 triangles together from underneath, allowing the rim to tilt downwards.
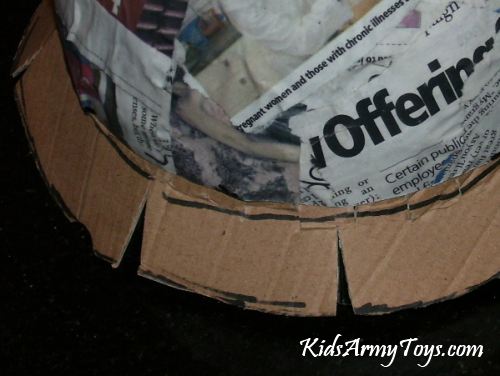
Join the helmet and rim together by sticking the flaps on the inside of the helmet rim up and into the helmet.
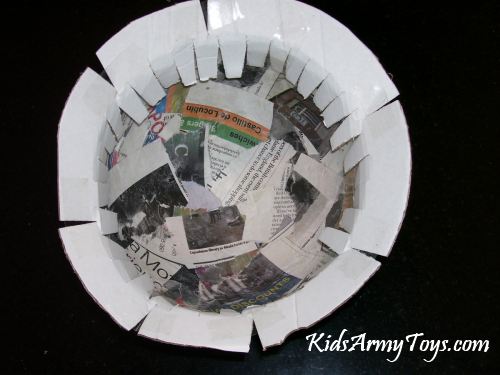
Check the fit and install a chin strap or internal padding (eg, foam) if need be. A chin strap can be fitted by carefully skewering a hole on each side and affixing string.
Get the paints ready and let your child loose designing his own camouflage pattern.
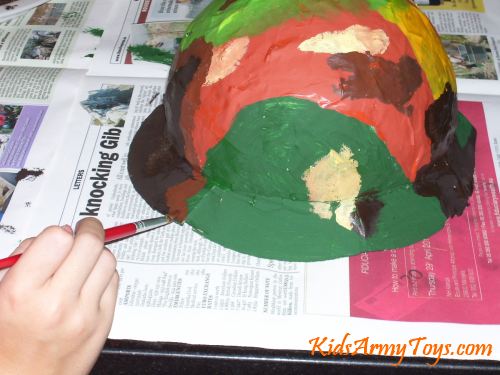
Let it dry and enjoy this cheap and cheerful addition to your kids army gear collection.
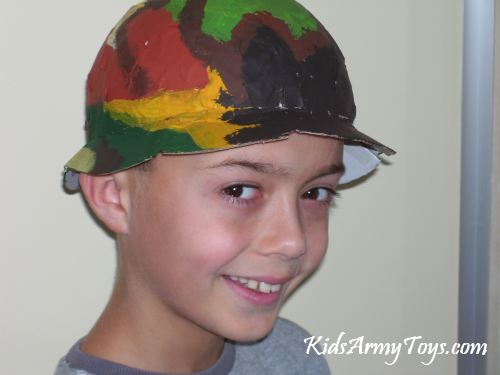
For an army themed birthday party, why not prepare a number of helmets and let the kids decorate their own one to take home. If you can stand the mess that is! Don’t forget to provide some cheap rain ponchos or something to protect clothing.
wow thanks this is awesome